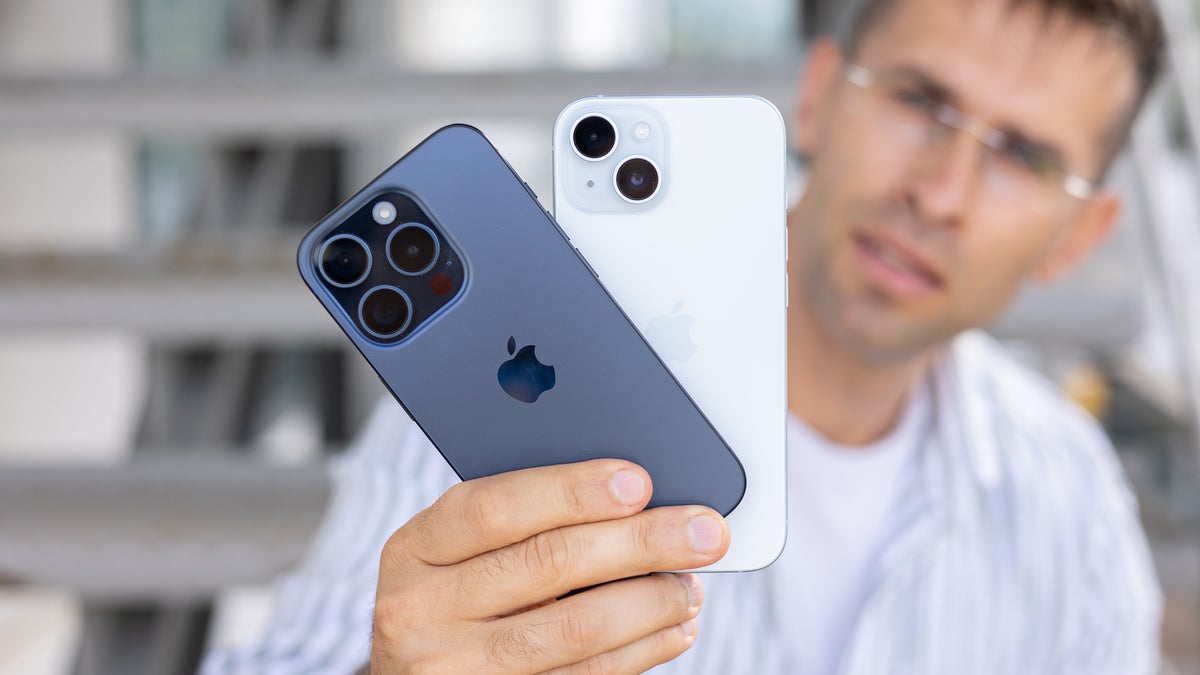
The iPhone is a great multifunctional assistant for a modern person. With the help of an Apple smartphone, users can not only play a huge number of games, take impressive pictures, and enjoy browsing the Internet, but also do some absolutely amazing things. For example, receive and send faxes.
Sending and receiving faxes using an iPhone is an ideal solution for small offices that may be able to afford expensive equipment, but don’t particularly want to spend money. And sometimes it makes no sense: if you only need to receive a few faxes a month, and the company’s main correspondence is via email, then it’s much easier to learn how to work with an iPhone.
You can send and receive faxes using any iPhone model, but since “scanning” is done by taking a photo of the sheet, it’s best to do this with one of Apple’s latest smartphone models.
Is It Practical to Send a Fax From an iPhone?
Innovative technologies often face initial skepticism, and this holds true for mobile fax solutions. Many worry that faxing from a mobile device feels less formal than traditional methods. Yet, the tide is turning, as businesses worldwide are increasingly prioritizing sustainability and looking to adopt paperless processes.
Welcome to the world of iPhone faxing—a tool for progress and convenience. This modern solution not only aligns with eco-friendly practices but also offers unparalleled flexibility. The dynamic nature of today’s workplaces demands both productivity and efficiency and faxing from your iPhone meets these needs with a simple tap. Your document quickly embarks on a digital journey, transcending global distances in seconds.
How to Send and Receive Faxes Using iPhone Using the Fax App?
Your main task is to find a digital faxing application that meets your goals and expectations. I know that FAX from iPhone: Fax App is one of the most popular solutions on the market. For this reason, we will use the FAX from iPhone applications as a basis. You are free to choose another fax app at your discretion. Most online fax applications are designed similarly.
- Download and Register: First, download a fax app from the App Store and create your account. If you’re a new user, you’ll need to sign up when prompted and opt for the Basic Monthly subscription to get started.
- Skip the Fax Number Offer: Don’t worry about having your own fax number—you can send faxes without one, so feel free to skip this step.
- Account Connection: Either link your existing account or provide a new email address to set up your fax connection.
- Start Faxing: On the home screen, select ‘Create a Fax’ to begin a new fax.
- Enter Recipient Information: Fill in the details of your fax recipient, including their fax number, name, and the subject of your fax.
- Attach Your Document: Select ‘Scan or Add Document’ to attach the content you wish to fax. Options for attachments include: Scan Document, Write Text, Email, Gallery, and Cloud Services.
- Add More Pages: You can add more pages to your fax by tapping ‘Scan or Add Document’ again. Mix and match different types of documents within the same fax if needed.
- Send Your Fax: Once everything is in place, hit ‘Send’ to deliver your fax to the specified recipient.
How to Send and Receive Faxes on iPhone using Safari?
There are a number of online services for sending faxes on the market. They are less convenient than applications, but they also have a right to life. To be honest, it is difficult to establish their reliability, so we will not recommend any of them, but will simply discuss the general algorithm of actions.
- Open Safari and go to the online fax website.
- Register as a user. Attention! You can test most sites (send or receive one fax) for free, however, continuous use of the site’s capabilities costs money. This is usually a subscription format for a service. The longer the period you pay, the less the subscription costs per month.
- If you can’t register through the Safari browser, use the full version of the site by going through the registration process from a personal computer
- Take a photo of the document you need to fax and edit it
- Attach an image on the website, enter the fax recipient number, and click Send. The fax-sending report will be contained in the Sent Items folder
Conclusion
So very simply and, most importantly, quickly, any iPhone owner can send a fax from their mobile device using apps or Safari. If you approach the issue in terms of priority, it is better to start with the application. Here you can take a photo, edit, and send a fax right away. You will also receive notifications about fax delivery to the recipient and receipt of faxes to your number. The above app also has a feature to protect documents using a password or FaceID. This is a useful feature for a business environment.

Tech Hub Digital, a one-stop destination for complete technology-related information.

