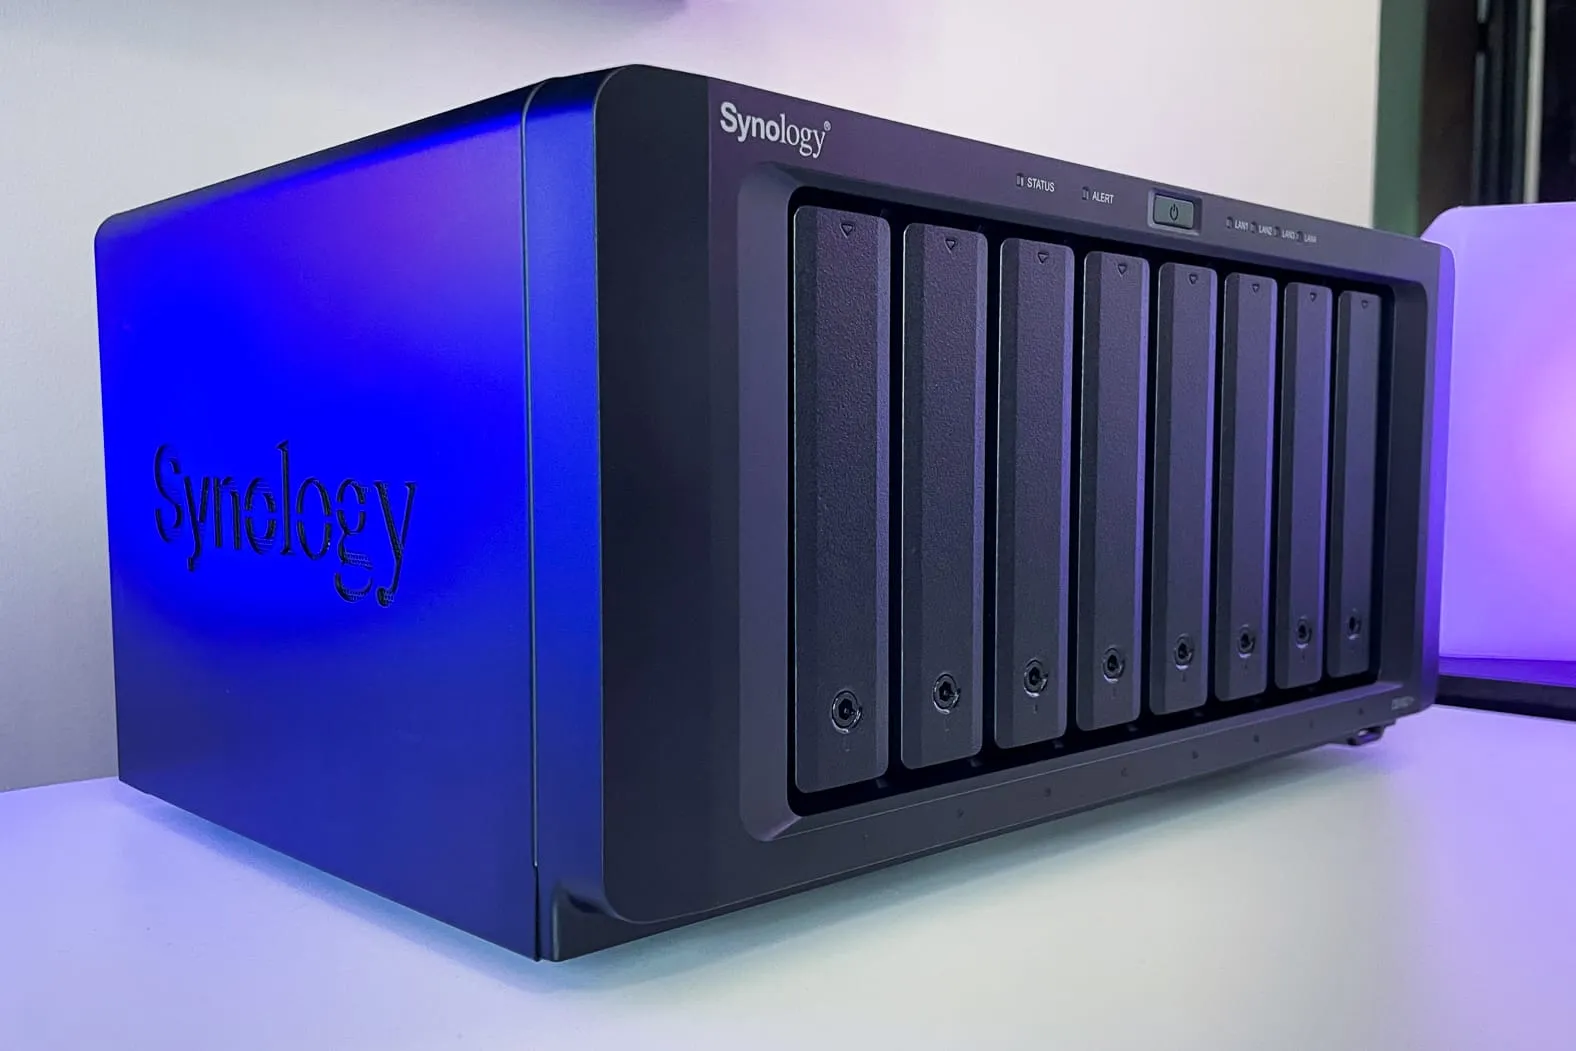
DSM (DiskStation Manager) is a software tool that comes with a Synology NAS device. You can use its several features to manage multimedia, file management, to protect your data and much more. DSM also provides users productivity, virtualization, user management, security and surveillance. To install the DiskStation Manager of the NAS device, you have to access the Web Assistant using URL findsynology from your laptop or computer. Here, in some paragraphs, you will walk through some steps that will explain you how to install the DSM (DiskStation Manager) in your computer.
How to Install DiskStation Manger of Synology NAS?
Follow simple steps written down here to reach the Web Assistant of NAS device.
1. Start Synology NAS Device
The first step would be turning on your Synology NAS device by placing the hard drives in to the main unit’s hard drive trays. Connect to your network device like switch, hub, or router. Then, connect the power cord of the device to electric wall socket. Gently, press the power button given at the front of the NAS device to turn it on.
2. Connect Computer to Same Network
To access the Web Assistant, you have to link your computer or laptop to the same network with which Synology NAS device is connected. You can connect the computer by Ethernet cable or if you are using your laptop then you can link it wirelessly.
3. Locate and Open Up Browser
Start your computer and launch any of your favorite web browsers in it. Locate the address bar and type the URL find.synology.com and hit the Enter button to reach the Web Assistant. If you are accessing the NAS device’s Web Assistant, then it will show Synology Assistant connection failed on the screen. Just connect the device by pressing the Connect button given on the bottom of the screen.
4. Reach Web Interface
After connecting the Synology device, you will reach the download page. Here, you can download the DSM (DiskStation Manager) by clicking the Download button. After some time, it will download, then, install it in your computer or laptop.
5. Install DSM
You will enter into the DSM software. Into the software, you have to create an administrator account by typing in some information. Write the device name and an admin account in the blank fields showing on the screen. Then, add a strong password and click the Next button.
Now, you can configure the settings, features and status of the Synology NAS device with the help of the DiskStation Manager on your computer.
Have a look on below section where you can explore the different and interesting features of the NAS device.
Explore DSM Features
- With built-in backup feature you will never lose your photos or data.
- You can share the media files securely with anyone.
- By multi-platform integration, your NAS device can integrate with any browser, mobile platforms, operating system, and network protocols.
- You can manage multiple user accounts and devices across entire business with DSM.
- Surveillance solution with powerful management and tool you can protect your home or business.
Final Thoughts
Synology NAS device provide so many features so that you can easily manage your data securely. Here in this informative article, you have learned how to install DSM of Synology NAS device. Installing the device includes different steps such as connecting computer to the same network in which the NAS is connected and accessing the Web Assistant. We also shared some of the features that help you to explore the DSM software. Hopefully, you have installed the DSM in your computer system and managing your data efficiently.

Tech Hub Digital, a one-stop destination for complete technology-related information.

