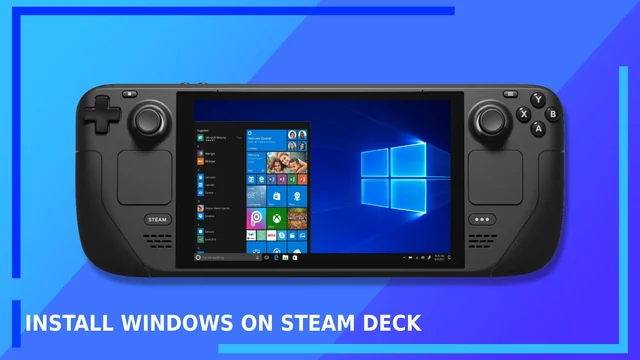
Gamers know most updates about consoles and PCs. So there’s no way you can’t be knowing the Steam Deck device. It’s a handheld console that runs an OS called Steam OS. As you guessed, it is Linux-based software. However, having Windows is often better for console gamers. Take ROG Ally and Lenovo Legion, for example. They run Windows. So, you know where this article is going. Yes, you can also Install Windows on a Steam Deck and even use it alongside Steam OS. So, if you want Steam Deck hardware but not Windows, continue reading this article.
SD card method for dual booting Windows 11 and Steam OS
Heard about Windows ISO files? You need that for this method. And an SD card. You can download it on Microsoft Windows websites. You can use the official Media Creation Tool to burn Windows in the card. But don’t create a regular bootable Windows SD card. When you are booting it, choose “Windows To Go” as the image option in the Media Creation Tool. Before or during Windows installation, find the important Steam Deck drivers on Valve’s website. It will be a zip file, so extract it and rename the folder as “Steam Deck Drivers” on your PC. If the warning says it is bootable and medium-ready, put the card in the Steam Deck device. Now, use the prompts on the Steam Deck to install Windows. When you see the Windows home screen, the first thing you should do is install the drivers you saved earlier.
Dual booting Windows and Steam OS on the SSD of the Steam Deck
This is also a dual boot setup, but you’ll be doing it with the console’s SSD. You need to put in a little technical work to install Windows using this method. Get g-parted, Rufus software, and two empty flash drives. You need to have a PC running Windows to do this. Take the first USB because you will be using Rufus and g-parted live image to get it ready. Now, you can resize the partition, create space in the USB for Windows OS, and boot your Steam Deck console into the g-parted live environment.
After that, use the Windows ISO file and do what you need to install it in Steam Deck’s SSD. You are making bootable installation media using Rufus during this step. If you did this, download, copy, and extract the Steam Deck drivers to a USB drive from your computer, just like how you did in the first method. Install the critical software drivers from this flash drive and use all features on the Windows OS to see if the installation is working smoothly.
Replacing Steam OS and running the Steam Deck only with Windows
Some people want to remove the Steam OS altogether. They just want the games that can be played on Windows. Many people today do this because it gives them a portable gaming PC experience.
Just like the first step of the first method, you need to download the ISO of the Windows version you want. You will also be using the Media Creation Tool like in the first method. After that, you know what’s coming. Use Rufus burner to create a bootable Windows USB. You need Steam’s official drivers, just like in the previous 2 methods.
Power on your Steam Deck with the bootable USB on its port and enter the Windows environment. This step is where you can install the Windows OS but also format the Steam Deck console’s SSD. This will successfully remove Steam OS from the gaming console. Lastly, boot into Windows 11, install official Steam Deck drivers, and try to use the features to verify there are no issues and that the installation is clean.
Final thoughts
So, now you know how to Install Windows on a Steam Deck. You can use it like a real computer. You can install and play more games without the anti-cheat features that SteamOS may have put in place. Additionally, you will now have complete access to the Steam game library, which includes titles that aren’t SteamOS compatible.
Editors Recommendations
- How to Link and Unlink YouTube Account With PlayStation 5
- How to Set Up WhatsApp Auto-Reply for Your Business
- How to Recover Unsaved Word Documents on Windows and Mac
- How to Add Friends on PS4?
- Monopoly Go Guide: How to Block and Report Players
- How to Block/Delete Friends on PS4?

Pooja Yadav is a Technical Content Specialist with over 6 years of experience. She mostly writes about the tech guides for Tech Hub Digital. She also has an interest in Smartphones, Bluetooth Earbuds/speakers, Wearables and all things gaming.
In her spare time, she watches movies, series and enjoys spending time outdoors.

